

Understanding Ground Coffee - Grind Adjustment
In our last article, we began to consider the spectrum of ground coffee, and how grinding coffee affects the potential of extracting flavour in your brewing. Today we’re going to look at something practical - how to go about adjusting your grinder to get the grind setting you desire, and really perfect your brew.
There’s a bit more theory first, so if you just want the low down on the practicals, head straight there. If you'd rather brush up on more theory, check out our first post on ground coffee before you dive into this one.
Hitting the sweet spot
The aim of good coffee brewing is to hit the “Sweet spot” for your coffee extraction. This is the point where around 20% of the total mass of the ground coffee has been extracted, the balance of extracted compounds provides the perfect balance of flavour in the cup, and a coffee’s particular flavour and aromatic notes can be experienced. In order to achieve this, you follow a recipe.
Coffee recipes and measurements
Recipes for coffee are usually very small scale - i.e. at home, you’ll usually only make coffee for one or two people at a time. The same is true for baristas; most commercial coffee machines are designed to extract one or two coffees at a time. Because most coffee recipes are very small scale, measuring the ingredients precisely is very important. While a difference of 1g of ground coffee might not seem like much in absolute terms, it’s a huge difference when you’ve only got 15g to start with.
No matter how you brew your coffee - pour over, espresso, or otherwise - in order to get the results you desire from your brewing, you will need to measure your ingredients. Weigh your coffee and water, and keep your water temperature as precise as you can.
Recipe example
A very general coffee recipe for making a pour over coffee might be something like the following:
- 15g of medium ground coffee
- 225g of water at 93°C
- Total brewing time of 2’45’’
In the above example, the weight, temperature, and time variables are precise. You may have noticed the one variable that isn’t quite as precise: “medium ground coffee”. In order to achieve the brewing time of 2’45’’ with 20g of coffee and 300g of water, the piece that we need to adjust and manage is the particle size of our ground coffee.
As we saw in our last article, ground coffee particle size exists on a spectrum. “Medium grind” encompasses a range of particle sizes, and there is no one-size-fits-all setting that will work perfectly for every type of coffee nor every type of brewer. Furthermore, being an organic product, coffee beans change over time and adjustments need to take this into account; this is especially important if you use freshly roasted coffee.
A general grind setting will get you close to hitting the “sweet spot”, but for many of us, close enough simply isn’t good enough. I want to be able to make adjustments that get me closer and closer to that “sweet spot” until I’m hitting it more often than not.
A coarser or finer grind?
Fortunately, there are only two possibilities we have in changing the grind size for coffee. Making the particle size larger (coarser coffee) and making it smaller (finer coffee). This principle holds true no matter what beans you use and for any brewing apparatus.
To decide whether you need to make adjustments to your ground coffee, you simply have to ask one question: does my brewing time need to be longer or shorter?
If your brewing time is too long, the ground coffee needs to be made coarser.
If your brewing time is too short, the ground coffee needs to be made finer.
The larger the difference between your target and actual brewing times, the larger the adjustment that needs to be made to the grind setting.
Adjusting the grind setting
In order to be able to control the particle size of your ground coffee, you’ll need a coffee grinder designed expressly for this purpose. While it is possible to use food processors, spice grinders, or even a mortar and pestle to grind coffee, these methods do not allow you to pre-determine the grind size with any degree of precision.
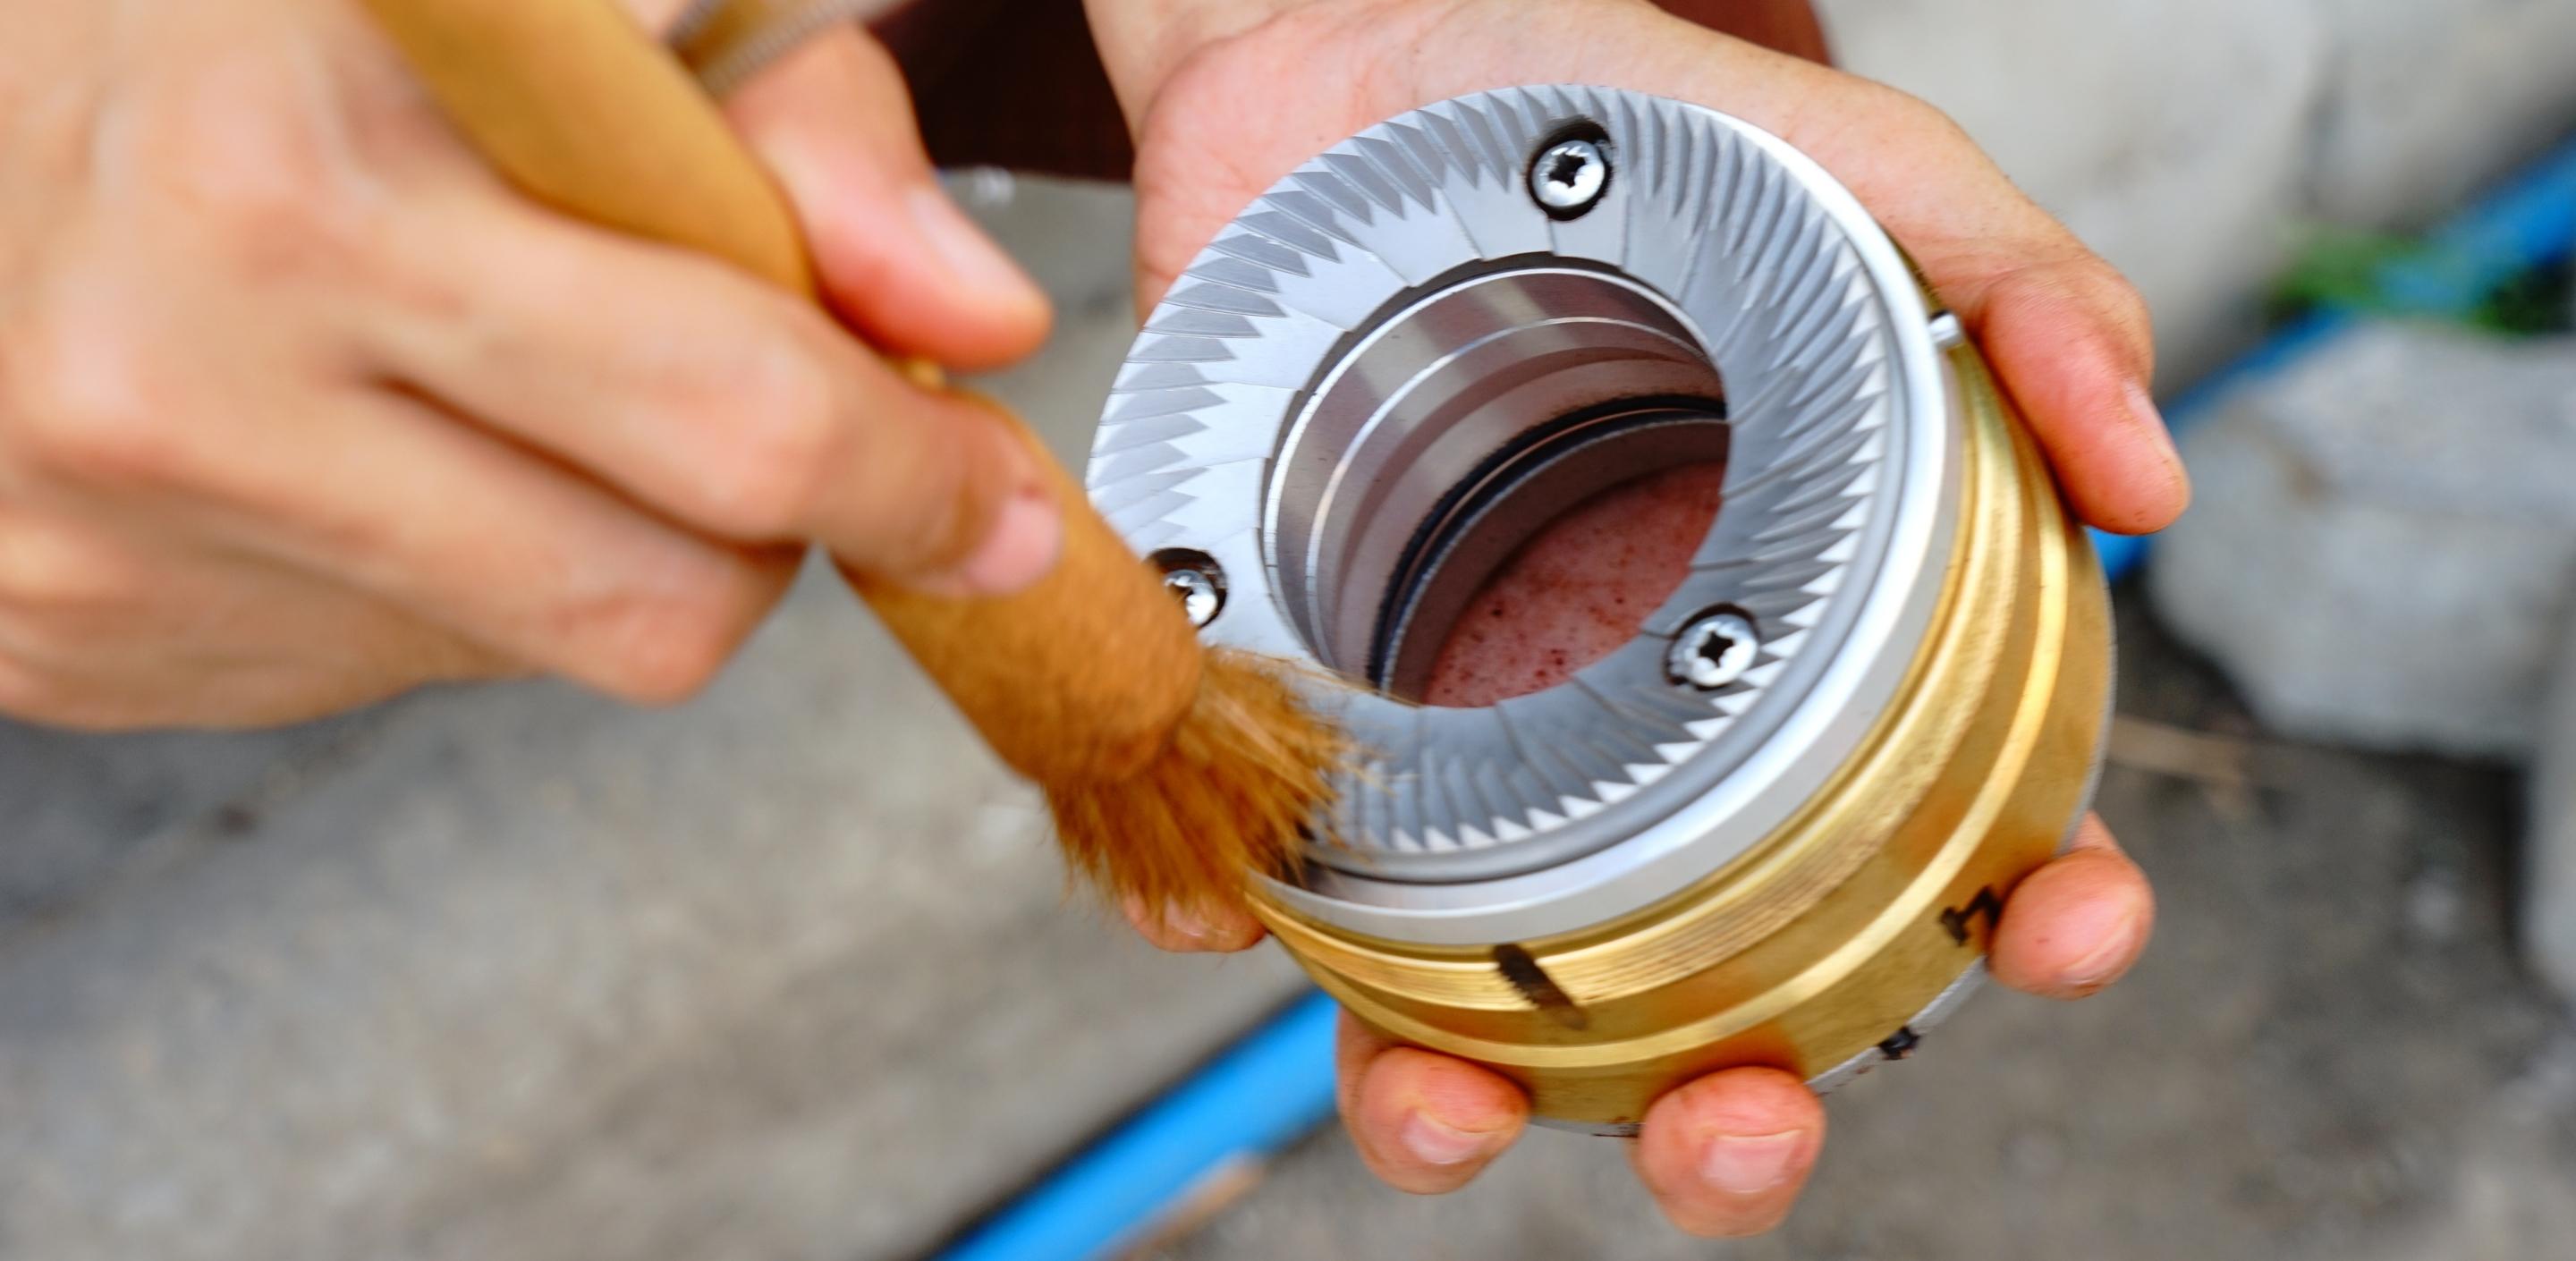
A coffee grinder that allows for adjustments will use burrs that can be positioned closer together or farther apart. Moving the burrs closer together will result in finer coffee, and moving them farther apart will result in coarser coffee.
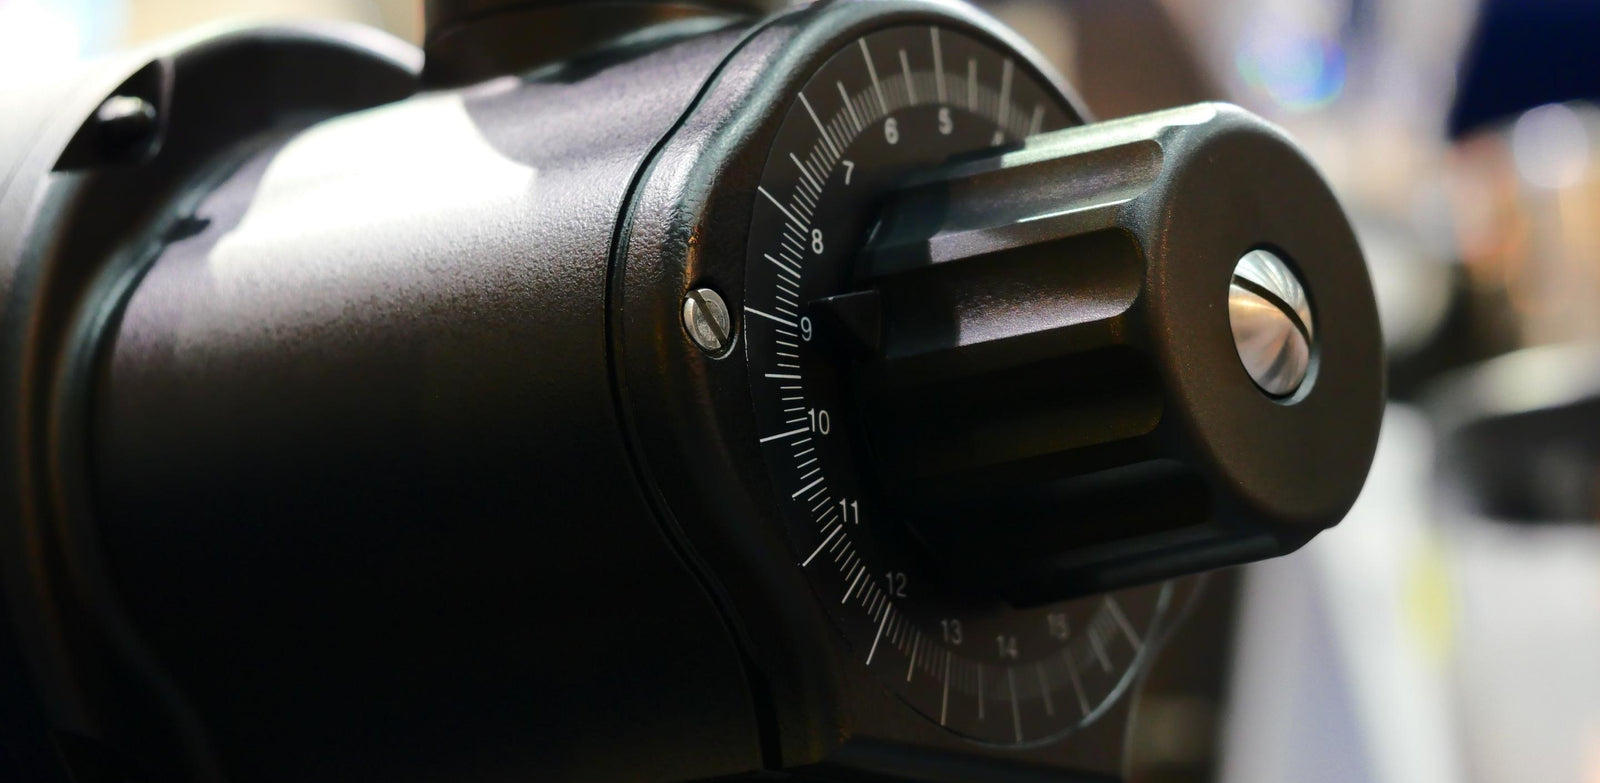
To make adjustments to the grinding burrs, such grinders will generally use either a rotating collar or disc, or a spinning knob. These controls are marked either with numbers or progressively larger dots to indicate the size of the grind that will be produced. Smaller numbers or dots indicate a finer grind, while larger numbers or dots indicate a larger grind. Most grinders will also display arrows indicating the direction that the control should be moved to make the grind setting finer or coarser.
As indicated above:
If your brewing time is too long, adjust the collar or knob by moving it towards the coarser setting.
If your brewing time is too short, adjust the collar or knob by moving it towards the finer setting.
How much should I change the setting?
The best position to be in with your coffee grinder is one where you don’t need to make very large adjustments to the grind setting. You’ll want to have a rough idea of how fine to grind your coffee to start with, and gradually make small adjustments to the grind size based on your brewing times, in order to get it just right.
This is where the descriptions of ground coffee sizes in our last article can help. If you are familiar with the appearance or feel of ground coffee that is roughly appropriate for your brewing apparatus, this can save you some time setting a grinder.
For grinding my own coffee at home, I placed a mark on my grinder’s adjustment wheel that indicates a good starting point for grinding fresh coffee to use in my pour over brewing. While each new bag of coffee does extract slightly differently, the changes I need to make to the grind setting are usually very minimal.
If your grind setting is very different from the target, you can make larger adjustments in order to get closer, but if you’re already near to an appropriate grind size you’ll want to keep the changes small. As an example, adjusting a knob or collar by only a few millimetres can make several seconds difference to the brew time of an espresso shot.
Adjusting different types of grinders
Whether your coffee grinder is hand powered or motorised it will do the same thing - gradually crush and cut coffee beans into smaller and smaller particles. Some more advanced coffee grinders offer the ability to electronically set a time that they operate for, which then translates into a particular dosing weight. Even more advanced grinders, typically commercial ones, offer the ability to have the grinder itself dose by weight. No matter how advanced the grinder, adjusting the grind settings will always be necessary.
A note on grind settings
The numbers displayed on a coffee grinder have no absolute value - they do not represent a measured particle size. The numbers are only a general indication of a larger or smaller size relative to each other, just like visual depictions such as dots are.
Some grinders will denote particular grind settings that are appropriate for various apparatus. These indicators can be a great starting place if you're regularly grinding coffee for different brewers, but you will still need to make small adjustments if you want your brewing to be precise. Furthermore, if the grinding burrs are in poor condition or not calibrated correctly, the indications will not be accurate.
While many roasters that offer pre-ground coffee also provide numerical references for their grind settings, these references have no meaning outside of the particular business that grinds the coffee and will be useless to another coffee supplier. The only way a grind setting indicator will be transferable is if using an identical, perfectly calibrated grinder (which is very rare).
Hand grinder adjustments
On many contemporary hand coffee grinders, the means of adjusting the grind setting can be found on the underside of the grinding burrs The lower dispensing chamber will usually need to be removed to access it. The control is likely a twistable knob that will set the burrs closer together or farther apart.
Many hand grinders will require that this knob is adjusted while the central spindle is held in place by the crank handle. More antiquated models might even require that some of the pieces are separated in order to change the grind setting. If your hand grinder’s adjustment mechanism is any more complex than simply turning a knob, we suggest that you refer to your manufacturer’s instructions before making any adjustments.
As a general rule, make adjustments to the grind setting of a hand grinder while it is empty.
Motorised grinder adjustments
Powered coffee grinders are generally adjusted by turning a knob or spinning an adjustment collar. Some models will have locking mechanisms that keep such a collar in place, which need to be depressed in order to change the grind setting.
Grind adjustment and jamming
Setting the grind coarser without emptying a motorised grinder is perfectly fine. However, making the grind setting finer while there are beans in a grinder does have the potential to jam up the burrs, preventing them from spinning. For this reason, we recommend that the grinder be either emptied of beans or that it be in operation and grinding coffee while adjusting the grind size to be finer - particularly so if you need to make a large adjustment.
Ground coffee retention
Generally speaking, while most coffee grinders appear to dispense all of the coffee that is put through them, this is not always the case, especially for smaller domestic grinders. Whether your grinder dispenses into a separate dosing chamber, or directly into your portafilter, it is highly likely that some ground coffee is retained in the dispensing chute that leads from the grinding chamber. Some more modern grinders have designs that do not retain any ground coffee, but these remain more of an exception than the norm.
The effect of this ground coffee retention in grinders is that any adjustment you make to the grind setting will not be fully apparent until any retained ground coffee has been cleared. If you’re intent on perfectly calibrating a grinder, you’ll need to ensure that you remove any retained ground coffee before you grind more beans at a new setting.
Adjusting timed electronic grinders
Some motorised grinders can be set to run for a specific amount of time when operated. E.g. one might be set to grind coffee for 10 seconds when a button is pressed. These types of grinders will typically dispense coffee directly into a portafilter. The intention here is to provide a relatively consistent weight of ground coffee each time the same setting is used.
The important thing to bear in mind here is that any adjustment made to the grind size setting will impact the amount of coffee dispensed from the grinder over the same time. It takes longer for a grinder to grind coffee fine than it does to grind it coarse; the further the grinder burrs are set apart, the more ground coffee can pass through in the same amount of time.
If you use such a grinder, understand that if you wish to use a timed setting, you will need to recalibrate it after you have set your grind size correctly. That said, as we indicated earlier, the only way to ensure that your coffee recipe is kept consistent is to weigh your dose of ground coffee.
Adjusting dose-by-weight coffee grinders
Motorised grinders that allow you to select a particular weight of ground coffee to dose are still fairly rare, but they’re excellent at helping to control one of the most important variables in coffee making. Such grinders will dispense coffee directly into a portafilter, and will allow you to electronically set the dose weight.
On this type of grinder It is still important to double check the dosed weight from time to time. Some dose-by-weight grinders will not display the actual weight that has been dosed, and it is important to confirm, especially while calibrating the grind setting. It is also important to check the calibration of the weighing mechanism in the grinder from time to time, as if it is inaccurate, every dose will be inaccurate.
We hope you've been enjoying this deep dive into ground coffee, grinding theory and coffee grinders. Next time we'll be going into even more detail - step by step instructions on grind adjustment, and a bunch of coffee grinder troubleshooting! Thanks for reading, and please share this with someone you know who might benefit.

Leave a comment