
Aeropress Brew Guide
Equipment:
-
An Aeropress. The Aeropress has now been around for over 15 years, and in that time little has changed. They’re still an excellent option for compact, mobile coffee making.
-
A paper or metal filter. If you’re serious about using an Aeropress, we recommend an investment into an additional metal filter. A metal filter will not inhibit the extraction of as many oils during the brewing process, and additionally, they’re reusable. Alternatively, simply use the paper filters that come with the Aeropress which work sufficiently well.
- A set of kitchen scales.
Ingredients:
-
Ground coffee. 13g of medium to coarse grind filter roast coffee
- Filtered water. 200g at ~93°C, plus additional water for rinsing if using a paper filter.
Method:
- Separate the Aeropress filter cap and place your filter inside. If using a paper filter, thoroughly rinse it with hot water.
- Replace the filter cap and place the Aeropress on top of your cup.
- Place the coffee in the Aeropress, then place the cup on your scales with the Aeropress on top and tare the scales.
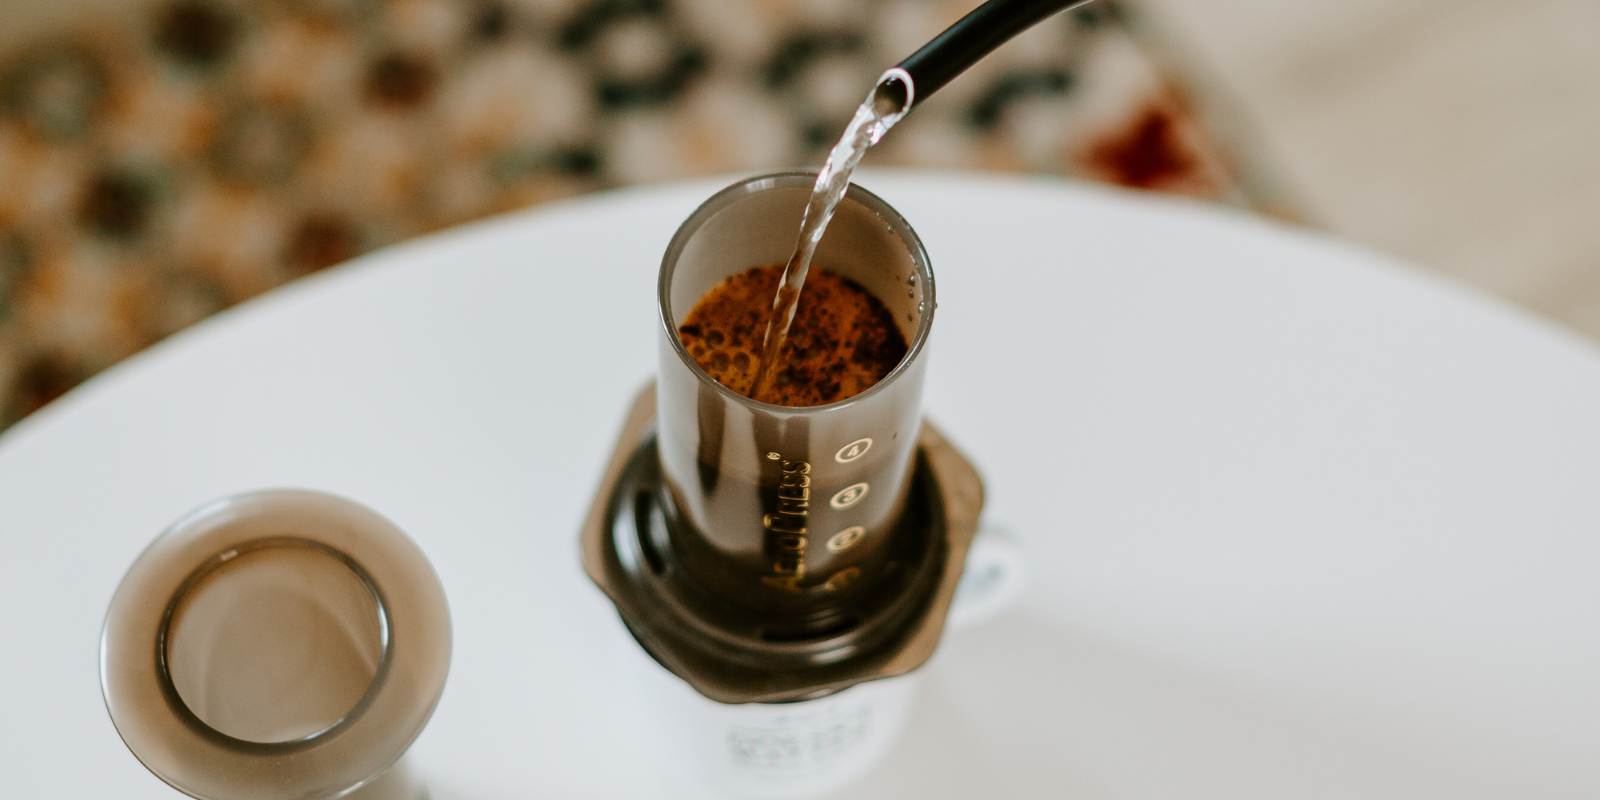
- Pour 20-30g of water on the coffee to moisten it and allow it to bloom, then wait 30 seconds.
- Pour the rest of the water in until all 200g is in the brewing chamber, and give the slurry a good stir. Place the Aeropress plunger into the outer cylinder to create a seal and prevent any liquid from draining into your cup. Wait for a further 60 seconds.
- Press down the Aeropress plunger to push the liquid through the filter and into the cup. This process should take around 15 to 20 seconds.
- That’s it, your Aeropress coffee is ready to drink (Though there’s probably some cleaning up to do).
Would you like to know more?
We’re always learning new things about coffee at Bancroft Roasters, and you can too. Our recipe is a tried and true method for getting a pretty good cup of coffee out of an Aeropress with a minimum of fuss, but the Aeropress is an incredibly versatile brewer, and there are a great many other recipes to try.
If you really want to up your game, we have below some general recommendations, and then some Aeropress specific options for you to try.
After that, we compare the Aeropress to some of the common methods of brewing, and finally discuss a couple of cleaning and coffee grinding tips.
General Coffee Brewing Tips
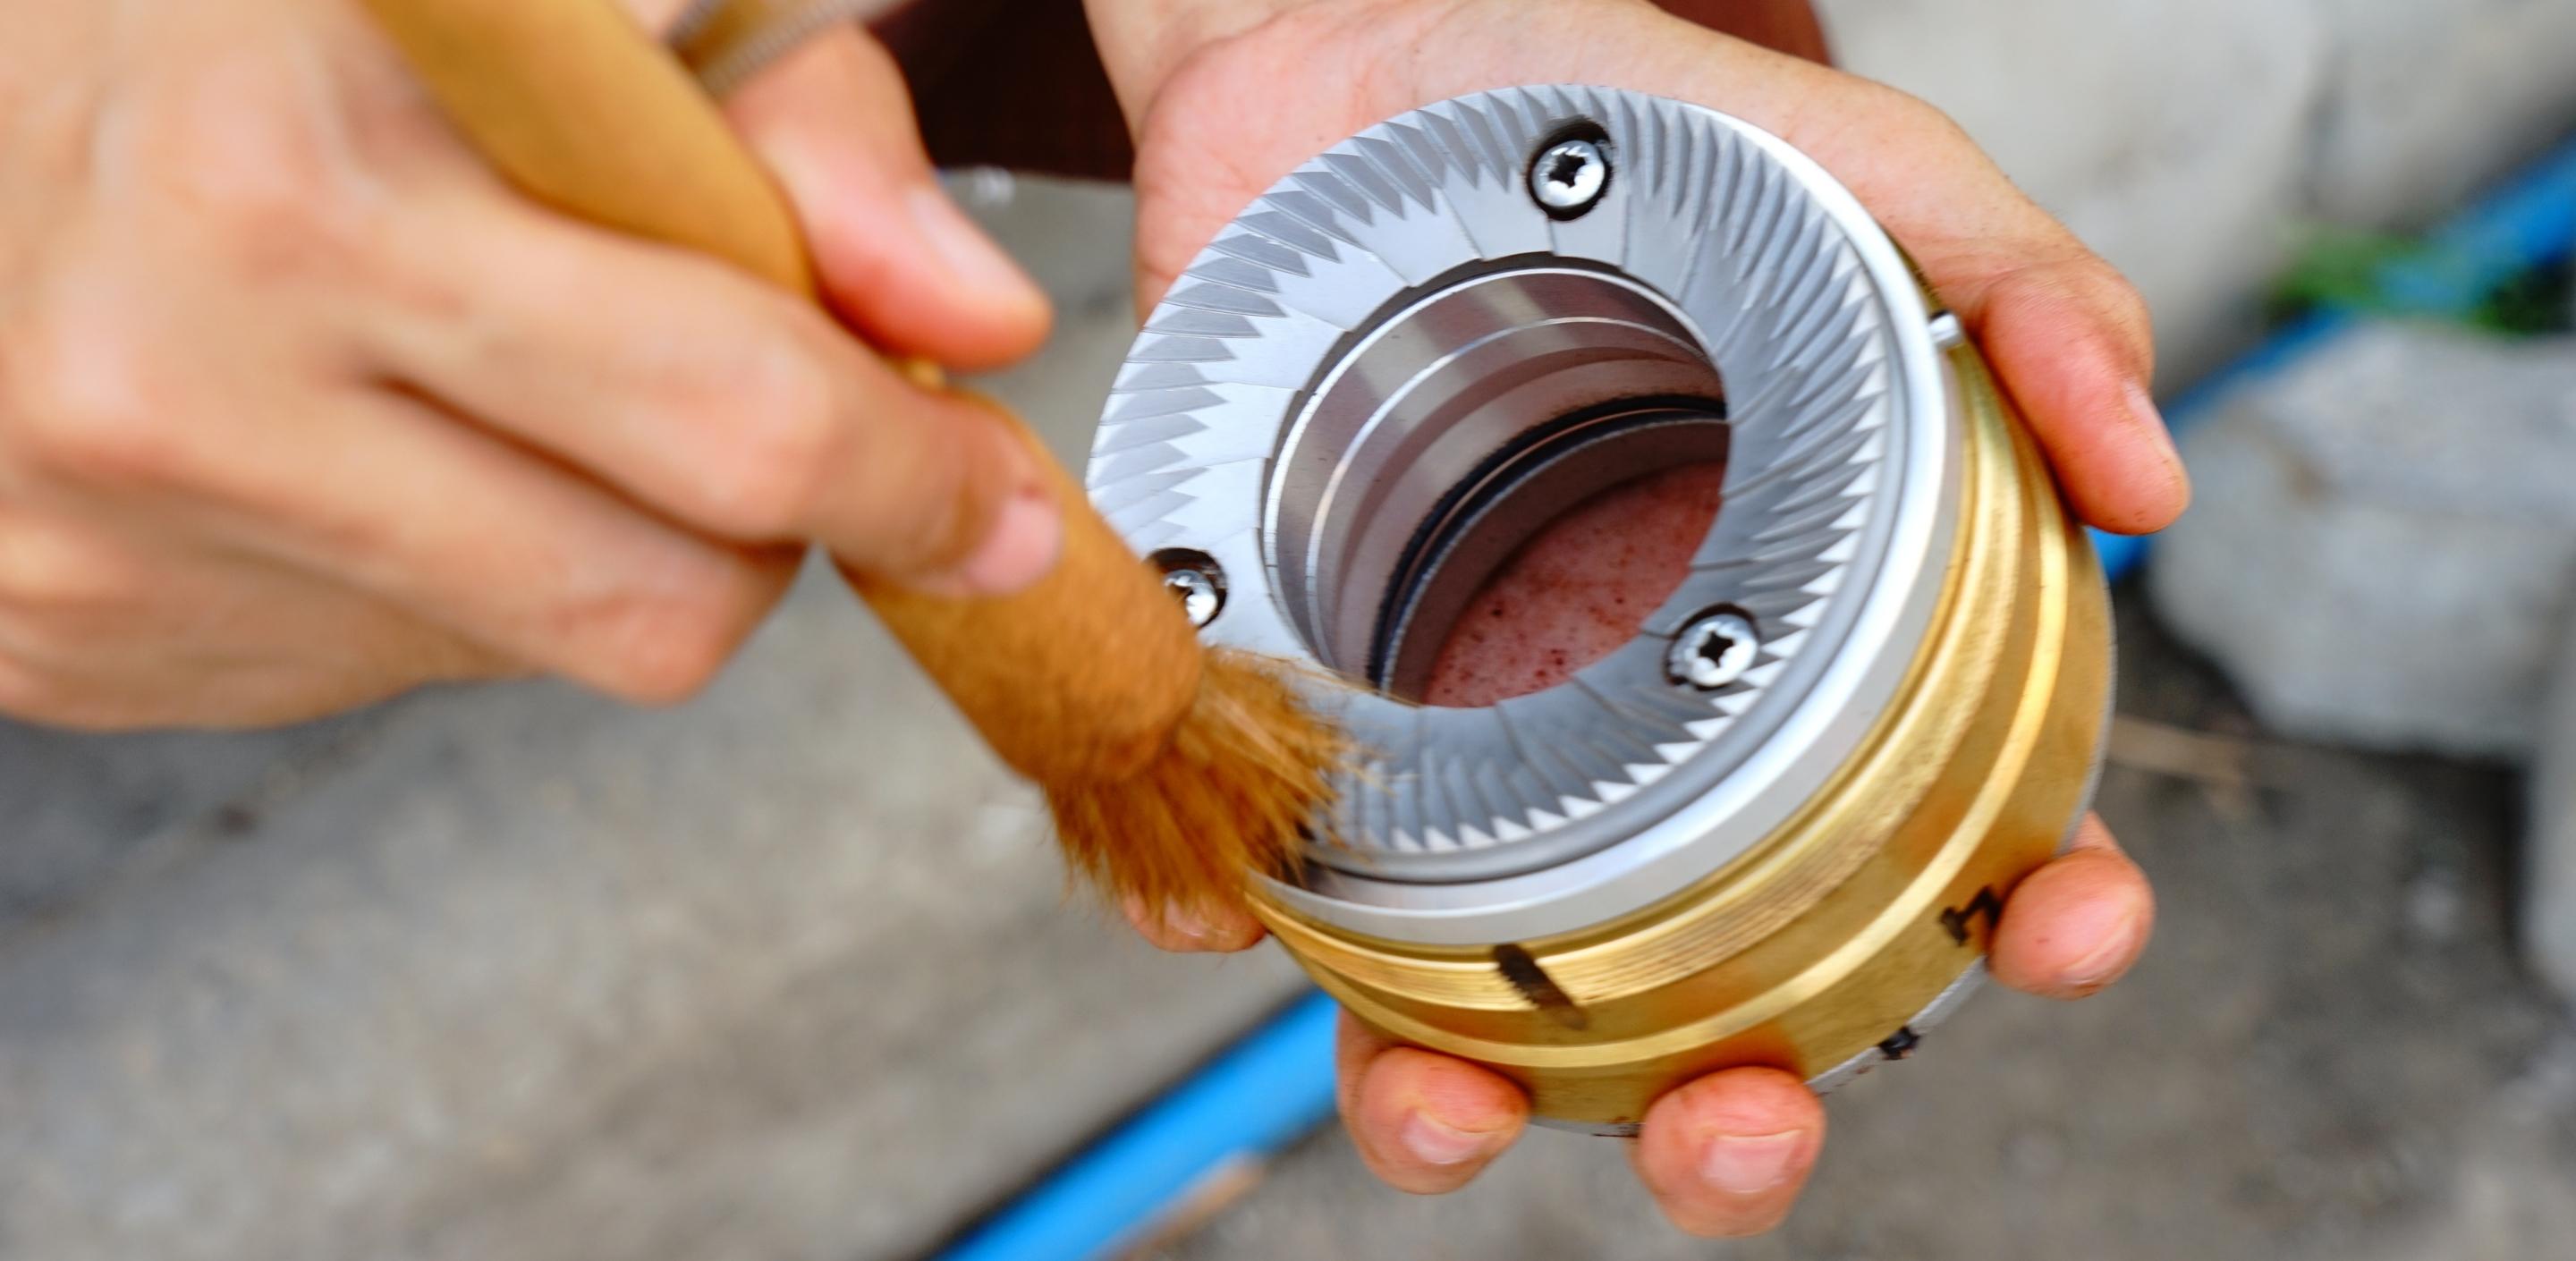
Grind your coffee on demand
This is probably our most important tip if you want to make great coffee. The flavour compounds in coffee beans are severely impacted by the presence of oxygen once they’re ground up, to the point where coffee that has been ground for any length of time can have substantially less flavour intensity and complexity than coffee which has been ground immediately before brewing. If you do anything at all to improve your coffee making at home, invest in a grinder. It doesn’t even have to be a fancy one. For making an Aeropress coffee, a simple little hand grinder is sufficient. If you’d like to know more, we'll have an article up about coffee grinding very soon!
Use better water
We can’t stress this enough. The water you use to brew makes a huge difference to the taste of your coffee - not surprising given that it makes up a far greater proportion of the final brew than the coffee solubles. A well-made Aeropress coffee will be about 98-99% water.
Our hometown's water is naturally very hard (high in calcium carbonates and magnesium), and doesn't lend itself to making great coffee straight from the tap. While filtered water is a good solution as it removes a good portion of the undesirable compounds in water, it doesn’t necessarily constitute the best option for coffee brewing. Pure water is generally touted as being too scarce in minerals to properly extract the soluble flavour compounds, though your mileage may vary - some roasters and coffee aficionados recommend and prefer it.
To really highlight the natural flavours in a filter roast single origin coffee, you may wish to make your own water. You can do this by getting some distilled or demineralised water and then mixing in a mineral package designed specifically for providing the right chemical balance for making coffee, or by creating your own composition from readily available household products (magnesium salts and baking soda). Many recipes are available online - the key thing to remember is to create a mineral composition that suits you. We'll have our own information available about water soon too.
Adjust your brewing ratio
Our Aeropress recipe was made with approximately a 1:15 coffee to water brewing ratio. If you’re after a lighter, less viscous mouthfeel with more flavour clarity, you can adjust your brewing ratio to 1:17 or 1:18, depending on your preference. If you want to go the other way, and achieve a slightly more concentrated flavour and a thicker mouthfeel, you can drop your brew ratio to 1:13 or 1:12. Experiment with the amount of coffee and water you use to see what suits you best.
An additional recommendation is to brew your coffee to be more concentrated (i.e. anywhere from 1:5 to 1:10 brew ratio) and then add hot water to suit your preference. You will also need to adjust your method if you do this - see the Aeropress vs Espresso section below for recipes.
Try different brewing temperatures
Extremely hot water isn’t the only way to make an Aeropress coffee. The original Aeropress recipe by its inventor, Alan Alder, recommends a temperature of 75°C, and in fact one of the winners of the Aeropress World Championships succeeded with that as their brew temperature. In more recent times, brewing temperatures of around 84°C have become common, with the average sitting at around 80°C as of 2021. Experiment with your brewing temperature and see what works for you.
Let your coffee cool
Humans aren’t the greatest at discerning flavours in food at extremely high or low temperatures. Immediately after it has been brewed, pour over coffee may be too hot to accurately experience its sensory potential. Try tasting and smelling your coffee periodically as it cools and notice the differences as the temperature changes.
Rinse and preheat your Aeropress and cup
Rinsing your Aeropress and your cup with very hot water just before you go to make your coffee will ensure both that the apparatus and cup are free of any residue or detritus that can affect the flavour of your coffee, as well as ensuring that your brewing slurry and your finished product don’t lose their temperature too quickly. This is especially important on cold winter mornings! Being plastic, the Aeropress insulates against heat loss very well, so it's not incredibly important to heat the apparatus, but making sure it's clean certainly helps.
Aeropress specific tips
Aeropress Inverted Method
If you spend any time researching Aeropress brewing, you’ll come across people using the “inverted” method of Aeropress brewing. Nothing particularly fancy about this; it simply means that they’ve brewed their coffee with the Aeropress upside down, with the plunger already inserted. Usually this means that the Aeropress sits freely on the bench or a set of scales, rather than on top of the cup in the way it was designed to.
The advantage of this method is that there is no chance of any coffee dripping from the apparatus before one is ready to brew, as the plunger seal prevents this. The disadvantage is that the Aeropress is top-heavy and therefore a little less stable when brewed in this manner, so you will need to be mindful of this.
You will also have to remove and then replace the filter cap when brewing inverted.
Use some alternative recipes
The Aeropress is a versatile little apparatus. While our recipe above is for making a filter-type brew, it’s possible to pull an expresso-like shot on it as well. Variations in brew ratio, blooming, stirring, plunging, and inversion of the apparatus itself have all been tried over the years. If you’re ever after some inspiration, the World Aeropress Championships list the recipes used by their winners and runners up.
Rinse the paper Aeropress filters
Standard Aeropress micro-filters are made with bleached paper, and the process of bleaching them uses a chlorine-based compound. While the papers are certified to be non-toxic and the process is carefully controlled and administered, we nevertheless highly recommend rinsing them thoroughly with water prior to use. The papers themselves can contain trace elements that can affect the flavour of your coffee.
If your preference is to use unbleached filter papers, you will either have to make your own, or use some from a third party provider such as 2POUR. Even for unbleached papers, we recommend rinsing them to remove any papery residue that can affect flavour.
Aeropress metal filters
Third party Aeropress metal filters, such as the Fellow Prismo, are available for use with the apparatus. The advantage of a stainless steel filter over a paper one is firstly its re-usability, and secondly, that it will not restrict the oils and lipids in the extraction from reaching your coffee. If you prefer an extraction with a thicker, more viscous mouthfeel, use a metal filter in your Aeropress in lieu of a paper one.
Aeropress Iced Coffee / Cold Brew
Aeropress cold brew coffee is incredibly easy to make, and the Aeropresses micro-filters are themselves an excellent means of filtering the coffee.
To brew cold, pick any container of sufficient size, and fill it with a 1:15 brew ratio of coarsely ground coffee and cold water. Stir well, then cover and leave in the fridge for 12 to 15 hours. After that, use your Aeropress as normal to filter the slurry and voila, delicious cold filtered coffee.
You can use the Aeropress itself as the container for your cold brewing, but this limits the amount of coffee you can make quite significantly. One of the best advantages of cold-brewing is making a large amount of concentrated coffee ahead of time, so we generally just use the Aeropress for filtering.
If you are making a great deal of cold brew, you may need to periodically remove the slurry from the Aeropress. Too much ground coffee left in the apparatus will prevent the extraction from passing through. Our best tip is to avoid putting too many grounds into the Aeropress by decanting the slurry before filtering the brew.
Aeropress with Milk
If you’d like to make latte or cappuccino style coffee using an Aeropress, you certainly can. Since an Aeropress is capable of making a concentrated extraction as well as a filter-style one, you’ll simply need a way to froth milk, which you can then add to your concentrated brew.
A very simple means of making frothy milk is to heat it in the microwave or saucepan, then put in a French Press/Plunger and plunge several times until the milk is foamy. You can even use the Aeropress itself in a pinch, if you're desperate, but it will take a while.
Alternatively, electric milk frothing jugs are available, and are actually very effective at making textured milk nearly as well as a skilled barista.
Aeropress comparisons
Aeropress vs Espresso
While the Aeropress is intended to make American-style coffee at a brew ratio of around 1:15 or so, it is equally suitable for making more concentrated espresso-style extractions at ratios of around 1:5 or 1:6. Indeed, many coffee personalities have come up with concentrated recipes that produce very palatable brews. You can find a vast selection of options to try at Aeroprecipe.com.
One of our particular favourites is this recipe, a long press espresso-style extraction. Give it a try and let us know what you think
Aeropress vs Aeropress Go
The Aeropress Go was released in 2019 as a travel version of the Aeropress. While the Aeropress itself is quite compact, the Aeropress Go takes it to the next level, and fits snugly inside its own travel mug which comes with the set, making it a great choice for coffee on the go.
The biggest difference between the two models is the size of the brewing chamber. The Aeropress is suitable for around 300ml of water, while the Aeropress Go is a little smaller with a capacity of around 250ml. This roughly equates to cup sizes of 10oz for the Aeropress and 8oz for the Aeropress Go, after brewing. If your usual habit is to brew for two, the standard Aeropress might be your preference, but for a single cup, we reckon the Aeropress Go is the far more convenient apparatus.
Aeropress vs Moka Pot
One question that often comes up when discussing coffee brewing apparatus suitable for travelling is whether to use a Stove top moka pot, or an Aeropress.
Our recommendation is the Aeropress, thanks to its versatility in brewing styles, compact nature, and lack of need for a stove or burner to heat. With an Aeropress one can get by with simply a kettle, which is an almost universal appliance anywhere you might stay.
Aeropress vs French Press
Again, we’re often asked whether we’d recommend an Aeropress or a French Press, either for travel purposes or simply for home brewing.
We’re firmly in favour of the Aeropress. Its versatility shines in alternative brewing, so if you’re interested in the minutiae of brewing, following recipes precisely and experimenting with flavours and extractions, it’s most definitely the way to go.
Where a French Press/Plunger comes out ahead is making a great deal of coffee quickly and efficiently. Plungers come in all different sizes, so if you find yourself regularly brewing for several people, you will probably appreciate being able to do it in one go. You probably don't want to make coffee for a dinner party using a single Aeropress.
Aeropress Tea
Yes, an Aeropress can be used to make tea. Simply replace the ground coffee with tea leaves, add your hot water, leave the tea to steep for the desired amount of time, and then plunge away. Simple, no mess, no fuss.
Grinding and Cleaning Tips
Aeropress Coffee Grind
We’re often asked about Aeropress grind size. The standard answer is that it should be a “medium” grind, halfway between a fine espresso grind and a coarse French Press grind.
Of course, simply eyeballing your ground coffee isn’t always enough to tell how finely or coarsely ground it is, nor to know how consistently-sized the particles are. For this, you would need to use a specialised coffee sieve set.
The Aeropress is a versatile apparatus, and can actually be effectively used with finely ground coffee, coarsely ground coffee, and anything in between - recipes for all sorts of options abound.
If you’re grinding coffee yourself, your best bet is to measure your variables; the dose of coffee you’re using, the amount water you’re using, and the length of time you’re brewing for.
When you follow a recipe precisely by measuring your variables, you’ll be able to tell whether your coffee was ground too coarsely, too finely, or just right depending on the result:
-
If the extraction took longer than it was supposed to, or if you find the Aeropress hard to push, your coffee is likely too fine; the result is usually bitter, hollow, or astringent.
- If the extraction tastes sour, overly acidic, or possibly even salty, or if the extraction passed through the ground coffee too quickly, you’ve probably got a grind that is far too coarse.
We’ll be posting an incredibly comprehensive article on grinding coffee in the near future, so make sure to watch out for that if you’re interested.
Aeropress and the Dishwasher
We recommend against putting the Aeropress in the dishwasher. A simple rinse immediately after use, and it should be good to go. While the apparatus is designed for use with hot water, it’s still plastic and thus shouldn’t be exposed to heat for prolonged periods, and the seals are going to wear out far more quickly when put in the dishwasher. If the device does get stained, simply wash it with warm, slightly soapy water.
We also recommend occasionally removing the seal/gasket and rinsing this too with warm, soapy water.
Where to now?
If you don’t already have an Aeropress, perhaps we’ve piqued your interest about this handy little brewer. If you do, hopefully we've opened the doors on a smorgasbord of possibilities. We'd love to know where your adventure takes you, so please drop us a line or shoot us a pic of your brewing in action!