

Understanding Ground Coffee - Calibrating a Grinder
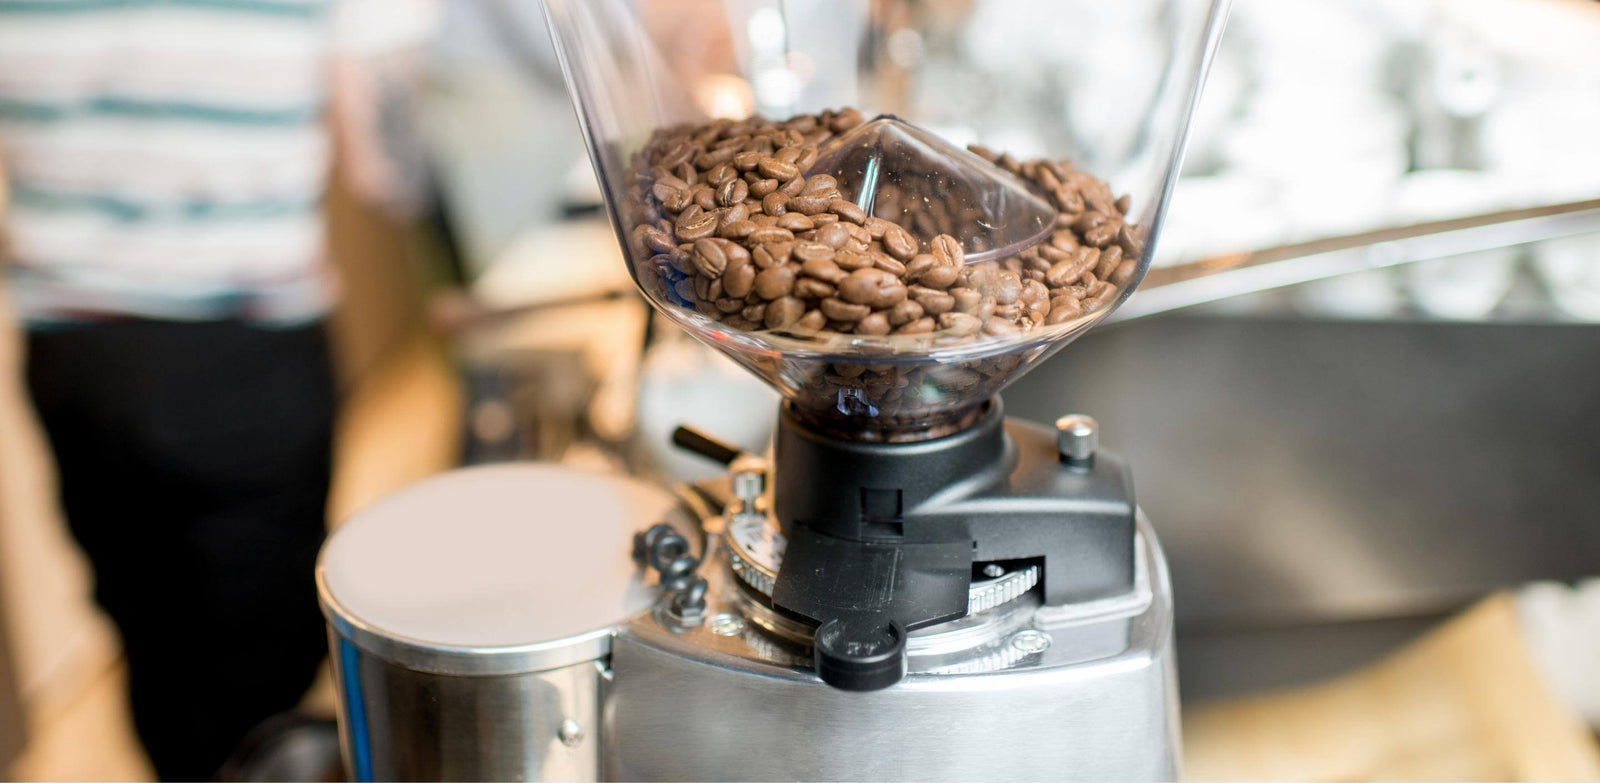
After a broad overview of the theory behind ground coffee, we’re now going to take you through a step by step guide to calibrating a motorised grinder. This guide will provide you with everything you need to know in order to hit a brewing time target that you already have. We’ll be considering espresso brewing, using as an example a motorised coffee grinder that dispenses directly into a portafilter. Essentially, this is the kind of setup procedure that professional baristas undertake to begin their day, and if you want to achieve a similar experience at home, it’ll be relevant to you, too.
First, we’ll give you the step by step. If you’d like more information on any of the theory, you’ll find it explained below, and you can also check out our other articles on ground coffee for more information.
How to adjust a motorised coffee grinder:
-
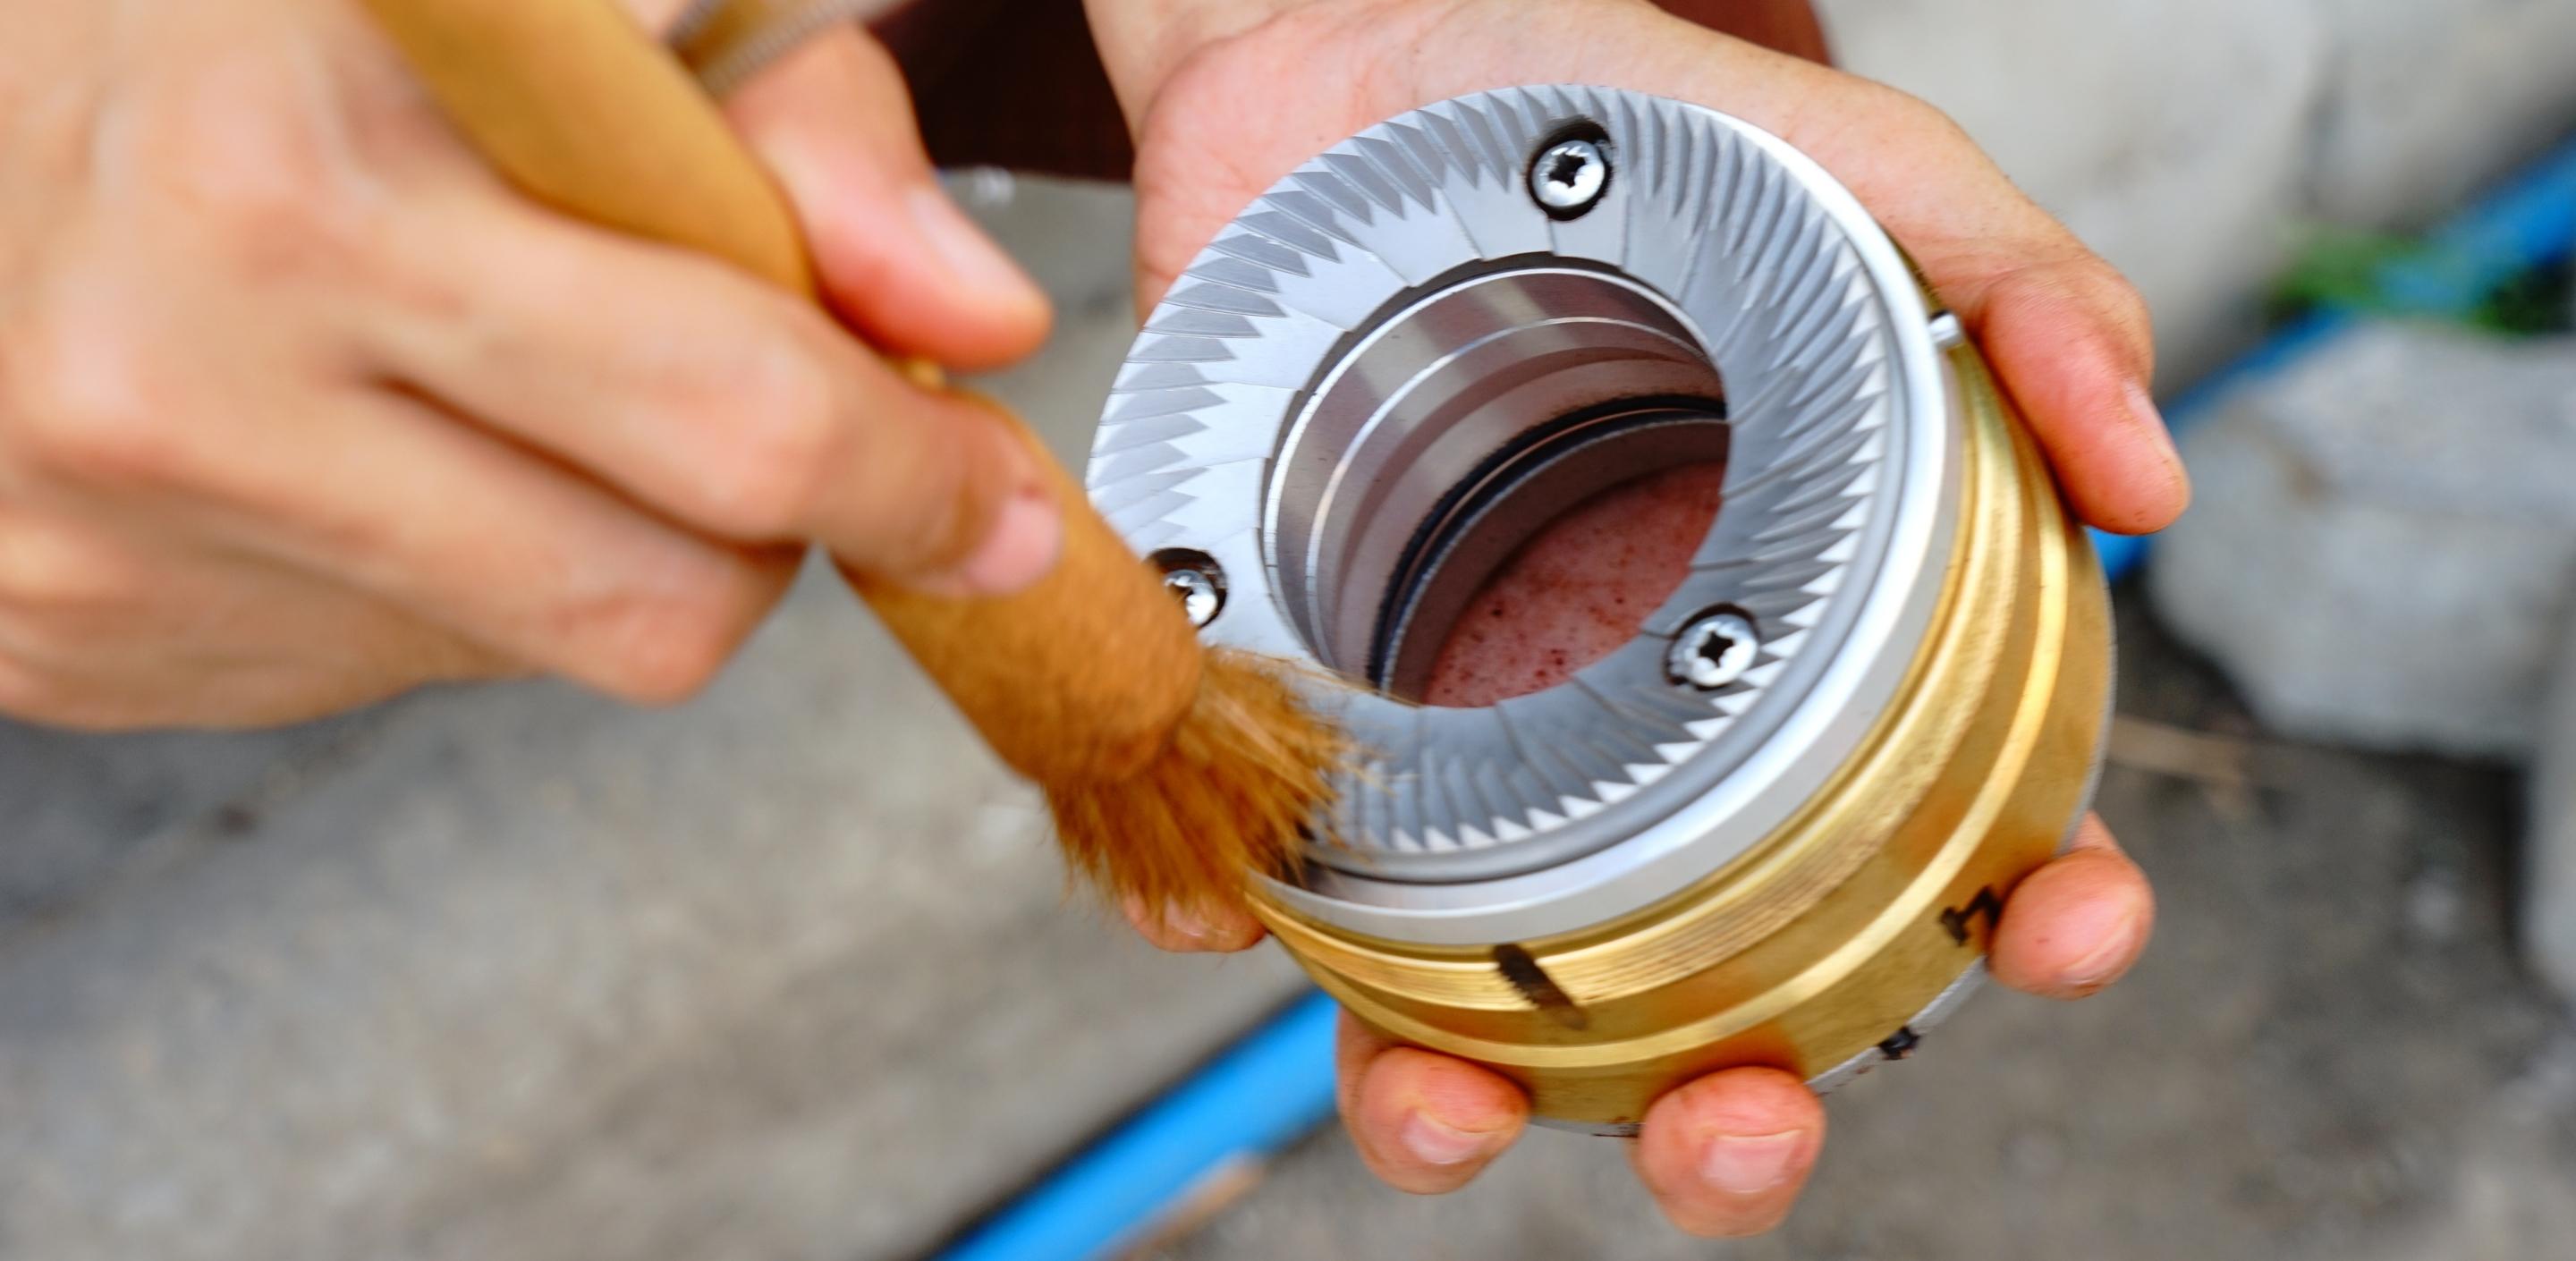
Firstly, familiarise yourself with your grinder’s adjustment dial or collar; know which way to turn it to make the ground coffee finer or coarser.
-
Have a target extraction time to work towards. Your target might be around 30 seconds; if so, an acceptable extraction time would be 30 seconds, plus or minus 3 seconds *
-
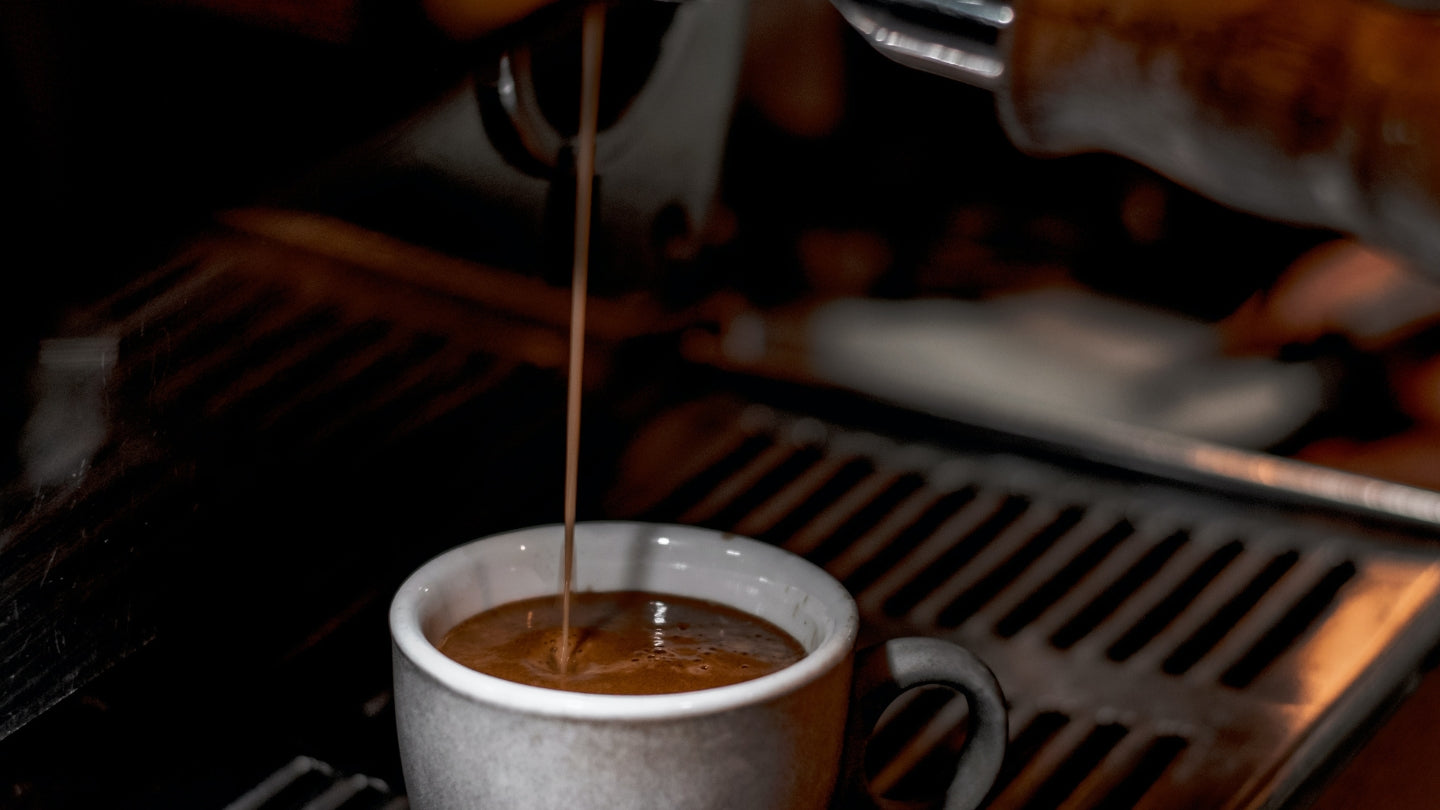
Keep track of your extraction times. To measure the extraction time of an espresso shot, start timing from the moment you press the button to begin brewing.
-
Before you begin brewing and testing, flush out any old ground coffee that has been retained in your grinder by grinding beans through it for 5 to 10 seconds. Discard this ground coffee (or use it - just not for this calibration process) **
-
Grind a dose of ground coffee appropriate for your portafilter and weigh it, making note of the weight.
- Brew a test extraction and measure the extraction time to set a baseline.***
-
Compare your baseline extraction time to the target time.
If your extraction time is longer than the target time, your coffee is ground too fine, and needs to be made coarser.
If your extraction time is shorter than the target time, your coffee is ground too coarse, and needs to be made finer.
- Adjust the grind in the required direction while operating the grinder and grinding beans.****
Ideally, you’ll want to make a small adjustment to the grind setting in the required direction. Turning an adjustment knob or collar by just a couple of millimetres can make a few seconds difference to the extraction time of an espresso shot. If the difference between your extraction baseline and your target brew time is quite large, say 10 seconds or more, you might wish to make a larger adjustment.
- Continue to grind beans until enough ground coffee has been flushed through (about 5 to 10 seconds) and the grind setting calibration has taken effect.
- Brew another extraction using the same dose weight as your baseline extraction. Try to keep your distribution and tamping pressure as consistent as possible with your earlier brew.
- Evaluate the change in brewing time. If the difference in brewing times is still not within 3 seconds of your target brewing time, return to step 7 and continue to make adjustments until you achieve the desired brewing time.
- You now know how to calibrate a coffee grinder to achieve a target extraction time.
For the more adventurous among you who wish to know not only how to achieve a particular extraction time, but rather how to calculate a target extraction time that will give you the best flavour from your machine and beans, we’ll be covering that in an upcoming article. Stay tuned, let us know how you went with your adjustments, and share this with someone who could benefit.
* Target brewing times
We use 30 seconds as a baseline target that is generally appropriate for a wide range of coffee beans and a large variety of espresso machines. We use a margin of about 10% either way, as it is nearly impossible to prevent some fluctuations the brewing variables will from happening, which will affect your brew times.
Your best target brewing time will actually depend upon your espresso machine’s design and the beans you're using. While many coffee roasters will provide recipes for their coffee that will produce an excellent extraction, the design of the espresso machine can be a limiting factor in following them.
A target brewing time that will hit the sweet spot for a particular coffee requires that the dose weight, yield, and brewing time parameters is precisely calculated and machine-appropriate; Getting these parameters in the right relationship will extract the perfect proportion of flavours from the beans.
In order to determine these parameters, a measurement of TDS (Total Dissolved Solids) needs to be taken from an extraction using a refractometer, and from there an Extraction Yield calculator can help you determine the appropriate parameters to use. This calculation is outside the scope of this guide, but will be covered in a later article.
** Retained Ground Coffee
Most motorised grinders that dispense directly into a portafilter retain some ground coffee in their dispensing chute, which will have been ground prior to you making a change to the grind setting, or could have been sitting there since the last time you used the grinder. In order to see the results of your grind size calibration, and to make sure that you’re testing your extractions with freshly ground coffee, any coffee that was present in the grinder before making an adjustment will need to be flushed out.
In order to flush out retained ground coffee, you can grind more beans through a grinder until the updated setting takes effect. This usually takes about 5 to 10 seconds, or about 1 to 2 doses worth of ground coffee.
*** What happened to Yield?
For the purpose of this article, we’ll assume that the volumetric settings for your espresso machine are relatively constant, and set correctly for your brewing.
To follow a coffee recipe more accurately, the yield would usually need to be calibrated to suit the dose, or the dose and brewing time set to suit a predetermined yield. Both of these adjustments are outside the scope of this guide, but will be covered in an upcoming article.
**** Benefits of adjusting while grinding beans
We recommend adjusting the grind settings of a motorised grinder while it is operating for a few reasons:
- It is far less likely to cause a jam when the grind setting is made finer.
- To notice the effect of the calibration any retained coffee that is from a different grind setting needs to be flushed out
- The adjustment knob or collar is often more easily moved while the grinder is in operation.
Leave a comment